Loop Ribbon Wreath

sp12I have been making wreaths for quite some time, usually with ribbon, in a wrapped technique. I love the way the bright colors look in the sunlight against my blue front door. And Hobby Lobby has such cute prints, it’s hard to resist!

I have been wanting to take my wreaths a step further and try a loop ribbon technique but was actually pretty intimidating. I found many tutorials on Pinterest, and it just seemed like so much work. But, needing to make a new wreath for St. Patrick’s Day, I decided to take the ribbon plunge. I was pleasantly surprised at how easy this was and how great it turned out! 


What you need:
sp1

Round foam wreath (I used 12″)
Lots of ribbon spools! I used 8 in a variety of patterns and sizes. (Make sure one is a solid thick width to use as your base wrapping.)
Pack of stick pins
Scissors
Any desired embellishments or decorations

What to do:

First of all, you need to wrap your wreath foam with a wide solid color ribbon. Attach eat end with a stick pin. I did not have quite enough, so you can see some of the white showing through.
sp3

Next comes the most tedious part. Cut your ribbon into strips between 4-5″ each. You will want at least 20 strips of each ribbon, but I suggest going ahead and cutting the entire spool. If you want a more staggered look, you can cut different lengths. For this one I kept them all the same.
sp4

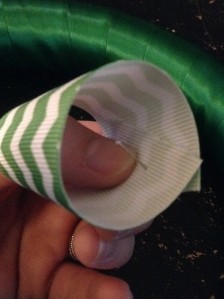
Once your ribbons are cut, congrats! You have passed the hardest part! Now you will start making your loops. Bend the ribbon and secure with a stick pin or two for wider ribbon.
sp6sp5

Poke the pins into the wreath to secure your loops. I used up all of one pattern at a time. I began with the thickest ribbon and tried to space them out evenly on the front and sides of the wreath. Don’t worry about which direction they face, it has a better effect if all are different.
sp7sp8

Continue until you are out of ribbon! Try progressing from thickest to thinnest. This seems daunting at first and a bit overwhelming, but as your wreath fills up more and more you will easily start to see the wholes where you need to fill in.

sp9

I added a shamrock centerpiece and some top ribbon to hang my wreath.

sp10

I was so happy with how this turned out! It is easily my favorite wreath so far. The entire project took me approximately two hours, and things were a breeze after the cutting. What I like best about this wreath is that nothing has to be perfect. In the end, the loops will all fit together and look great!

sp11

Have you ever tried to make a loop ribbon wreath?

The Addictive World of Juicing!

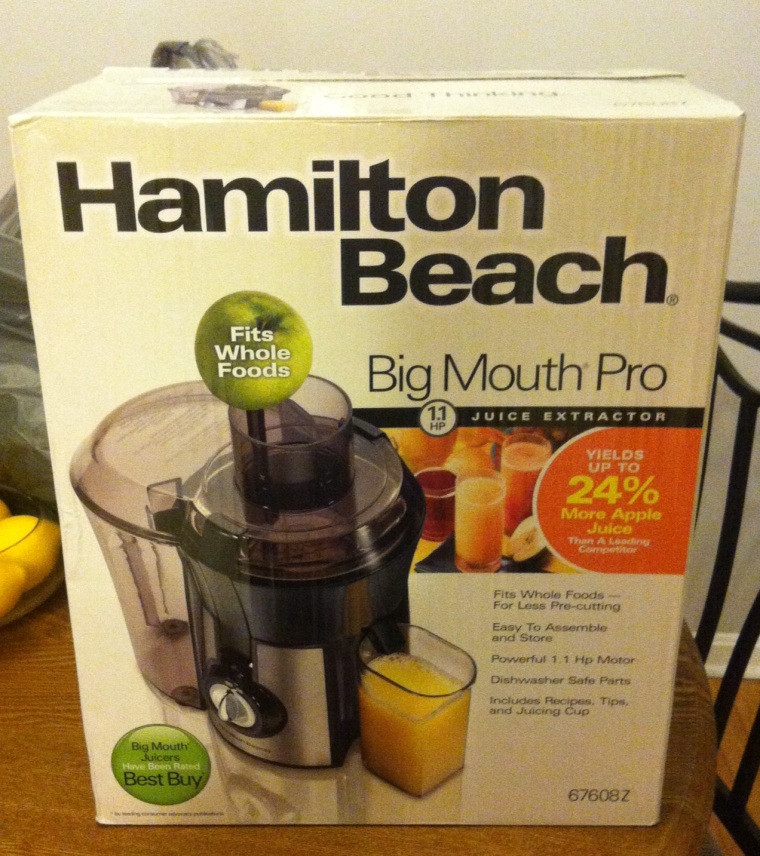
Recently my boyfriend quit smoking (so proud!) and we decided to go on a mini-health kick. In addition to regular exercise and hydration, we’ve started making more of a conscious effort to eat healthy, while still not depriving ourselves of things we love. Some of my friends have gotten on the juicing kick (credit fellow blogger Evin–www.pcslife.wordpress.com) and rave about how easy it is and and how great they feel. So one night we just up went to Wal-Mart (one of our favorite night-time activities, don’t judge) to find a cheap juicer. We didn’t want to invest too much money into this thing in case it tasted horrendous or was a one-time fad. We settled on a cheapo Hamilton Beach machine for around $70.

Hamilton Beach Big Mouth Juicer
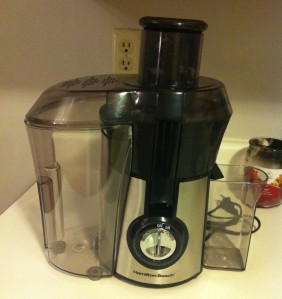
juice2 Hamilton Beach Big Mouth Juicer

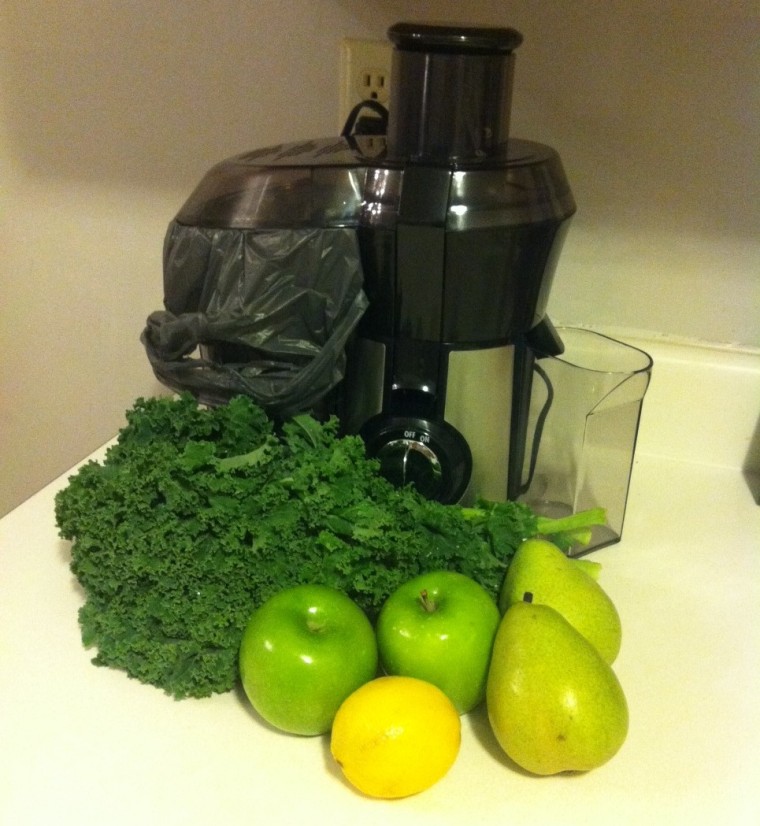
Then we set off to the produce section to pick out our first ingredients. I had looked up some recipes on Pinterest ahead of time, and we settled for  a “Green Machine.” Looking back, we definitely under-purchased. One thing you will quickly realize with juicing is that it takes a LOT of fruits and veggies just to produce a small amount of juice.

juice3
Green Machine

Green Machine:
2bundles of kale
2 Granny Smith apples
2 green pears
1 lemon

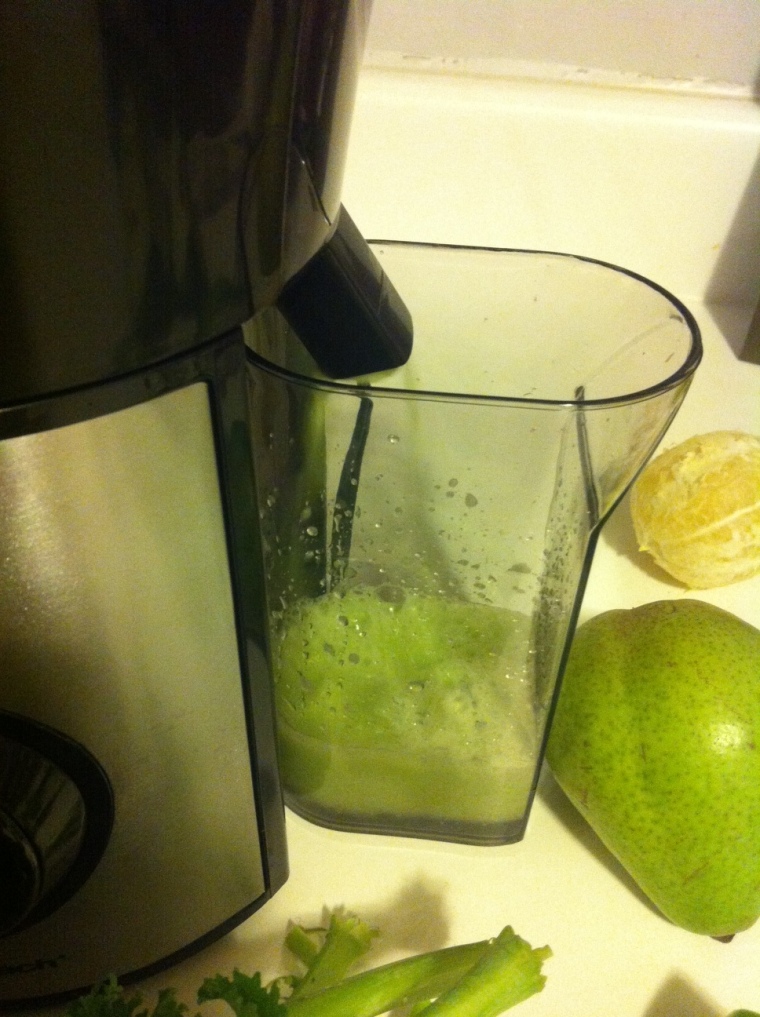
This particular machine boasts that its wide mouth can fit and juice whole apples! I was skeptical at first, but it really worked. You can juice fruits and veggies whole as long as they will fit, being mindful to peel any rind that may not be edible. For example, you can put in a whole cucumber or apple, but be sure to first peel a lemon, orange, or papaya. Small seeds are fine to include, but large pits as in peaches and nectarines must first be discarded.

juice4
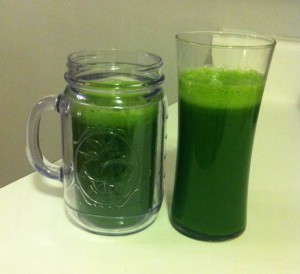
juice5photo 1 Finished Green Machine

I was surprised at how easy the whole process was! It only takes a few minutes of your time to get a delicious concoction. Yes, I said DELICIOUS. I couldn’t believe how great it tasted to drink KALE!

Long story short, we have become JuiceHeads (and no, not the steroid type.) Since purchasing the machine about three weeks ago, we have each had at least one juice per day. I personally don’t use the juices as meal replacements, per say, but I do drink one every morning for breakfast. Before juicing I typically never had anything for breakfast except for coffee (BAD, I know!) so this has been a great addition. It starts my metabolism and keeps me (almost) full until lunchtime. I’ve cut out coffee almost completely, except as a treat every now and then. The juice wakes me up and gives me all the energy I need.

Now, let’s talk NUTRITION! Juicing is incredibly HEALTHY! Thinking about all of the vitamins and minerals you pack into one pint of liquid. My new favorite Google search is “what are the health benefits of ______?” So many cancer-fighting, vision enhancing, heart healthy benefits in each little fruit or veggie. My office has been passing bugs around all winter, and I (knock on wood) have yet to get sick. I definitely attribute this to all of the vitamin C and other nutrients in my juice! Throughout the week, Itypically stick to alternating between green kale or spinach based juices and orange carrot and ginger based juices. Several of my favorite recipes are listed below.

But first, a few words of advice for new juicers:

1. Buy MORE produce than you think you will use! Per week, we typically go through anywhere from 7-28 apples, 10 pears, 3 bunches of kale, 1 large bag of spinach, 2 bags of carrots, 1 ginger root, and 12 oranges. These are our “essential” ingredients. We more sparsely purchase “enhancer” ingredients, such as melon, cilantro, mangoes, and beets. I try to shop once on Sundays to avoid going to the store throughout the rest of the week.

2. Juice right before you want to drink. Juices lose nutrients the longer they sit. Something about oxidation or…I have no idea.

3. Don’t be afraid to try new combinations or be turned off by weird colors. Brown juices can be delicious! Get out of your comfort zone and use ingredients you don’t really like. I am not a huge fan of celery, but I try to hide at least one stalk in each of my green drinks to reap the health benefits.

Happy juicing!

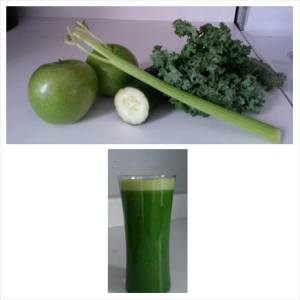
Green Monster:  2 Granny Smith apples 1/2 cucumber 1 celery stalk 4-5 large leaves of kale (Add a handful of cilantro to kick up the flavor!)
Green Monster:
2 Granny Smith apples
1/2 cucumber
1 celery stalk
4-5 large leaves of kale
(Add a handful of cilantro to kick up the flavor!)
Beets Me! 2 beet roots (peeled)  1 sweet apple 2 carrots 1 inch ginger root 1 orange 1 lime
Beets Me!
2 beet roots (peeled)
1 sweet apple
2 carrots
1 inch ginger root
1 orange
1 lime
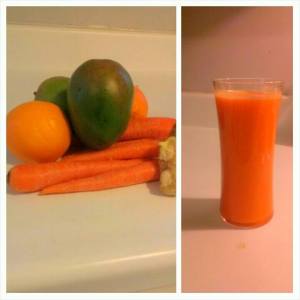
Mango Madness 1 mango (peeled)  4 carrots 1 inch ginger 1 orange 1 green apple
Mango Madness:
1 mango (peeled)
4 carrots
1 orange
1 green pear
1 inch of ginger root


Baked Fries (Is This an Oxymoron?)

We all love french fries but all know how terrible they are for you with all that nasty fat and oil! This is a quick and easy way to get the same fry taste, without actually being fried. Guess we should maybe call them “french bakes” instead?

(Disclaimer–Okay for some reason all of my pictures turn out yellow and awful looking. Actually that “some reason” is two things–terrible camera, and terrible lighting in my kitchen. Bear with me until I get a better camera–I promise these things look much better and more appetizing in real life!)

What you need:

Russet potato(es) extra virgin olive oil, seasoning salt, garlic powder, pepper.

-Russet potatoes (I used one large one–feeds two.)
-Extra virgin olive oil
-Seasoning salt
-Garlic powder
-Pepper

What to do:

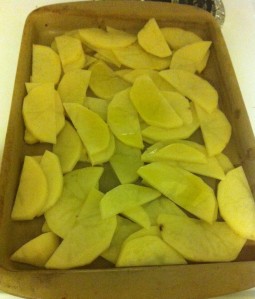
Preheat your oven to 400 degrees. Peel your potatoes and cut your potato into thin slices.  I typically start by cutting a potato into thirds, and then each third into halves. I then begin to make my slices. Next spread onto a baking sheet.
fries2

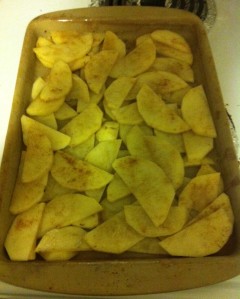
Next, drizzle potatoes with olive oil. Sprinkle on seasoning salt, garlic powder and pepper to taste. Toss the slices around to make sure they are all evenly coated with oil and seasoning.

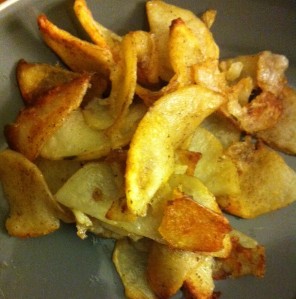
Finally, bake in the oven approximately 40-45 minutes or until golden. Enjoy with ketchup, mustard, or just plain by themselves!

Do you have a healthier way to enjoy french fries?